This guide will assist you with purchasing a dedicated IP with a default port.
A dedicated IP (Internet Protocol) is a server address that uses the default port of Minecraft (25565). By having a dedicated IP you will gain access to the server splitting feature and will be able to create an A Name record as outlined in this tutorial without tagging the port of the server on the end. So, instead of having ‘mc.surfhosting.co:25496’ as the server address you will only require ‘mc.surfhosting.co’.
1. To begin, login into the billing panel here and navigate to services.

2. On the left-hand side, navigate to view available addons and click on it. Your page will look something like this.
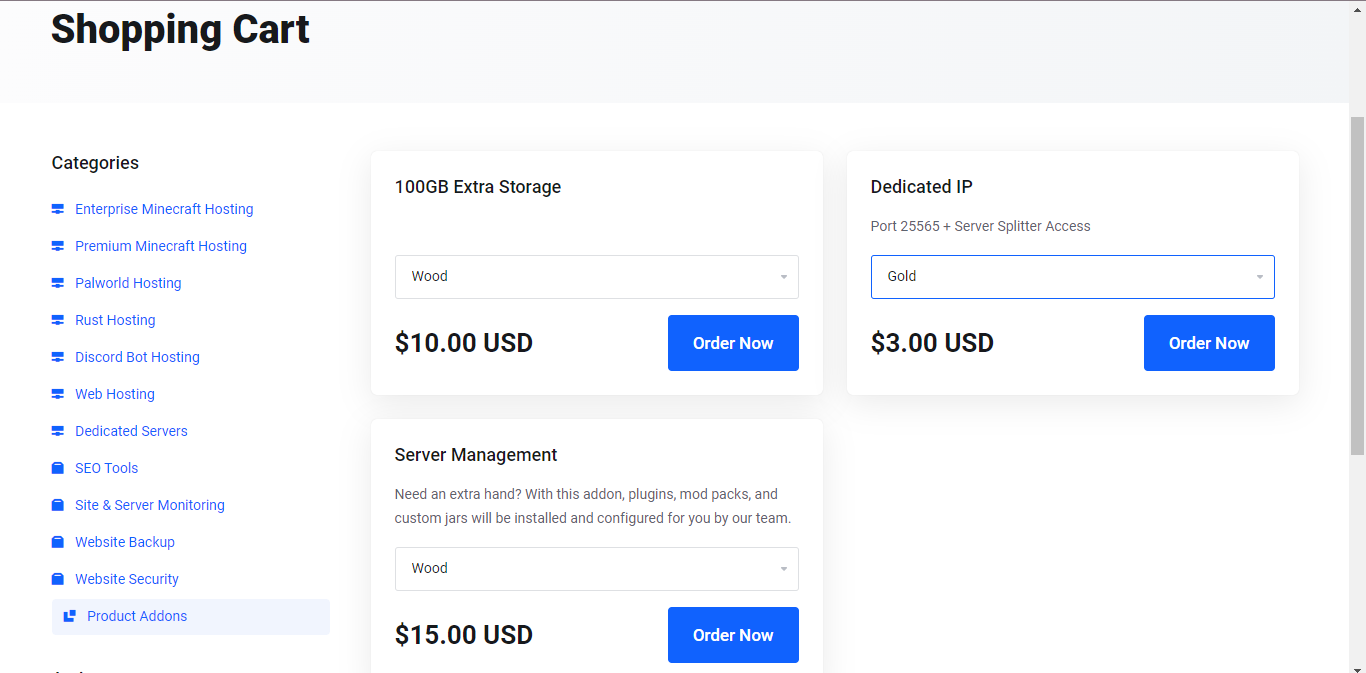
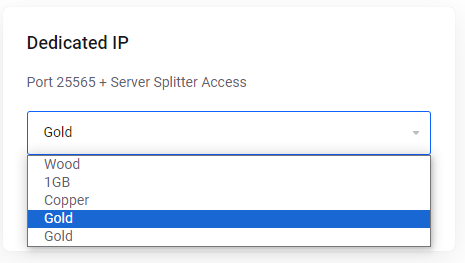
3. On the right you will notice a box labelled Dedicated IP. Click on the drop-down box and select the plan you wish to add the dedicated IP to.
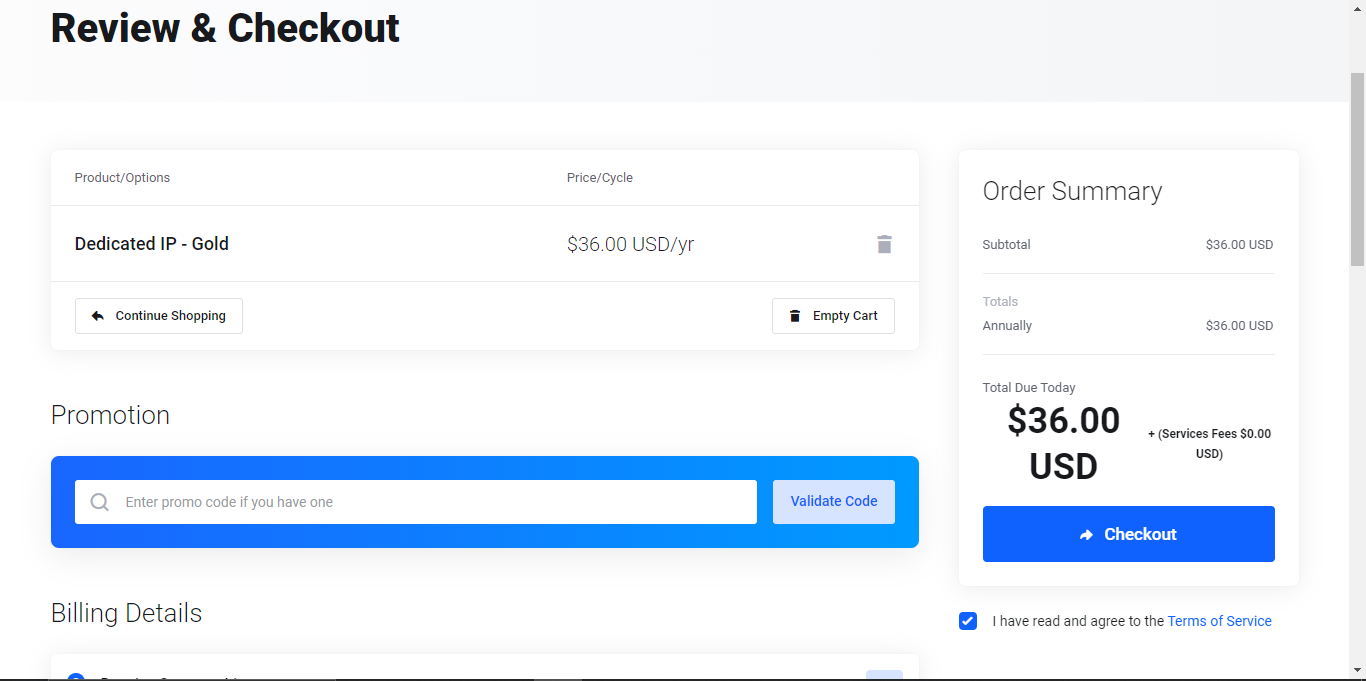
4. Once the desired plan has been selected, select order now. Here it will take you to the review page. Here you can double check your billing details and continue shopping. Once you are satisfied with your order you can proceed with the payment by clicking checkout. Don’t forget to agree to the Terms of Service which can be found here.
5. It can take up to 24 hours for the new IP to appear. Once it does you will receive an email. Once it has been changed, your new IP address will be visible in your panel. If you require any assistance feel free to open a ticket and contact our friendly staff here at Surf Hosting. Have fun!


