This guide will assist you with changing your server type for your Game Hosting service.
1. To begin, please go to the control panel here and select the server you wish to manage.
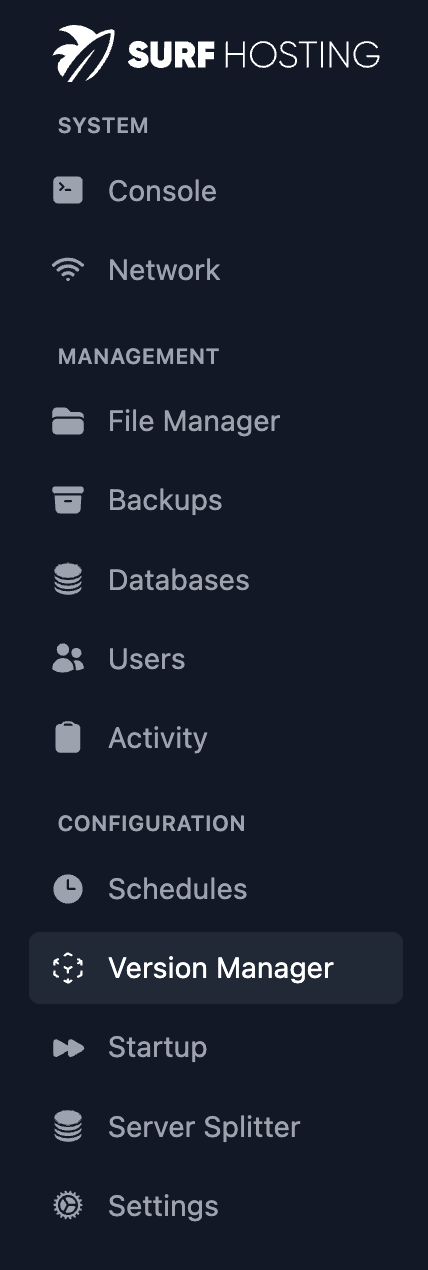
2. Go to the sidebar and click on 'Version Manager', which is under the 'Configuration' section on the list. In the screenshot below, it is highlighted in gray.
3. Upon doing so, go to the top of the page and select 'Software Manager'. In the screenshot below, it is circled in blue.

4. Browse through the available server types and choose the one that you want. Some server types may display the message 'This version does not support any additional settings', and that's fine as we go over how to change your server's version here. Please make a backup before you proceed, or you may your files.
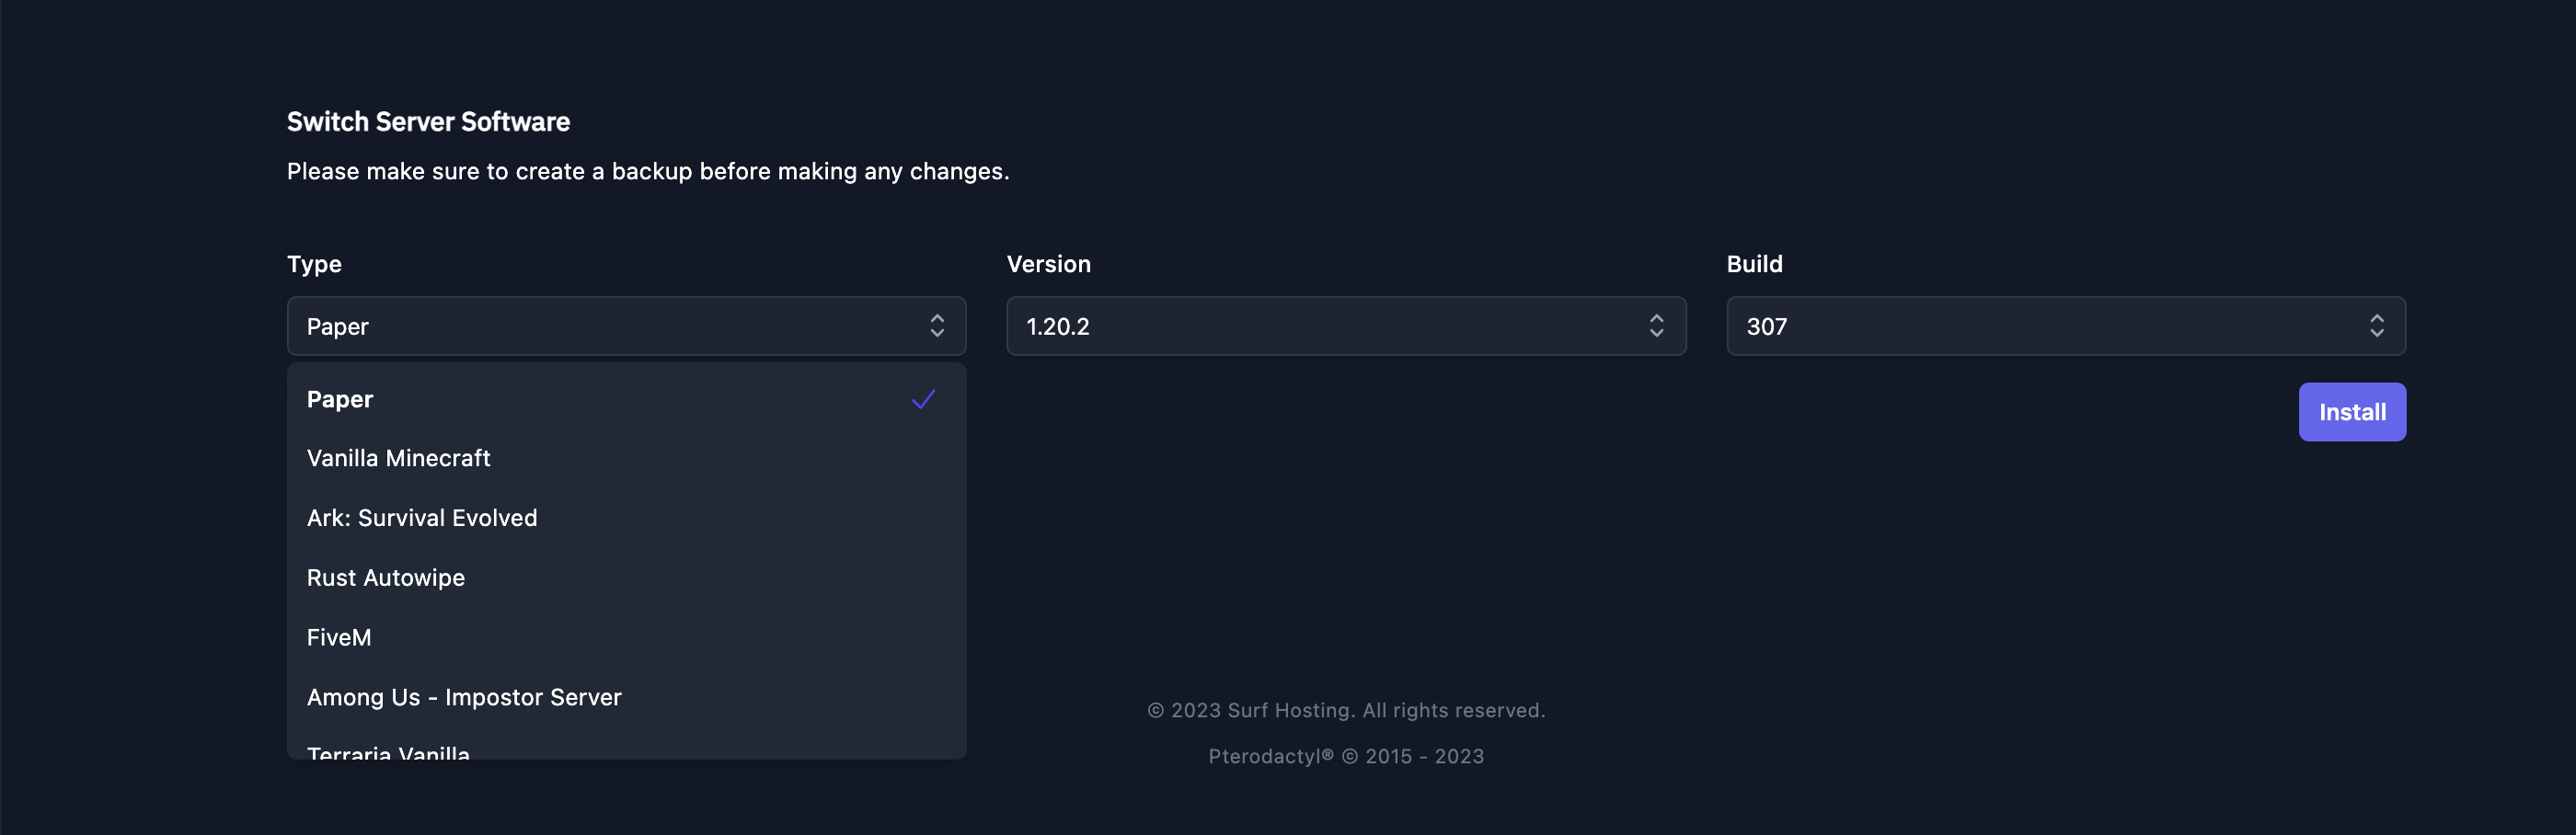
5. After selecting the version you like, please press Install and accept any warnings.
6. You will now be redirected to a page that states, 'Your server should be ready soon, please try again in a few minutes.' Please wait until the process is complete before proceeding.
7. Start playing!
If you encounter any difficulties changing your server type, please reach out to support.


