This guide will assist you with editing your Minecraft Servers MOTD.
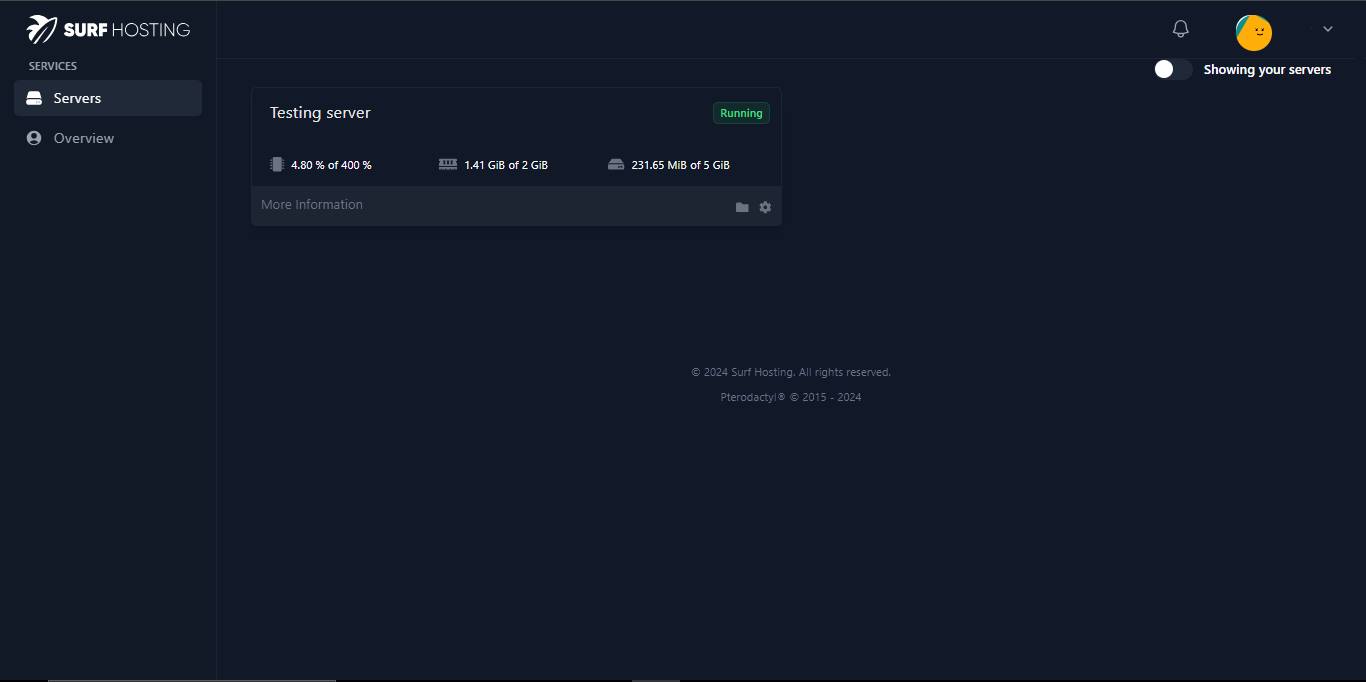
- To begin, please go to your control panel here and select the server you wish to edit
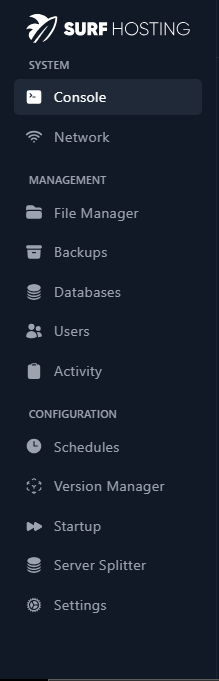
- After selecting your desired server, navigate to the navigation bar on the right, and under ‘Management’ click on ‘File Manager’
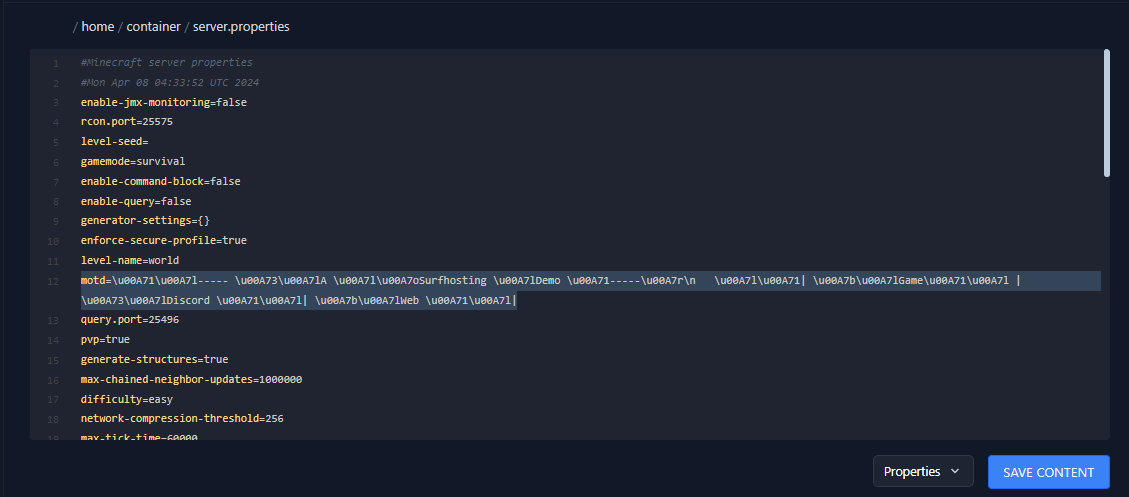
- Upon accessing your server’s files, on a paper server locate the ‘server.properties’ file. On a Bungee/Waterfall server locate the file named ‘config.yml’. Open the respective files.

![]()
- Once inside the file, locate the line marked ‘motd=A Minecraft Server’. On a Paper Server this on line 12, on a Bungee/Waterfall Server, this is on line 13. Here you can replace ‘A Minecraft Server’ with an MOTD you desire. Use Minecraft Formatting codes to make your MOTD stand out more! Once you’re done, don’t forget to press Save Content.
- Now navigate back to the server’s console and restart the server. Once the server has restarted, open Minecraft and your new MOTD will be present. Repeat step 4 if changes to the MOTD is required. Your MOTD is now ready for show!

TIPS
- Use an MOTD formatter to assist you. You can find one here.
- Use bright colours to capture your Audience.
- Highlight your servers features in your MOTD.
- Keep it simple and concise.
- Make sure to double check your MOTD to ensure it has formatted as intended.
- Remember, the codes used for a Bungee/Waterfall server are different to that of a Paper server. Be sure to double check


